Deploy from Docker Registry
If you already have a CI/CD pipeline that builds and pushes your Docker image to an image registry, you may deploy your application directly from the said image registry. Porter supports native image registries from the three cloud providers: Elastic Container Registry (ECR), Google Artifact Registry (GAR), and Azure Container Registry (ACR).
Please note that this option is available for those who want to maintain their existing CI/CD pipelines, and it’s not required to build your applications using a Dockerfile on Porter.
You can still buid your application using a Dockerfile while deploying from a GitHub Repository.
Step 1: Build and push your container image to a Docker Registry.
Before deploying an application from a Docker registry on Porter, you must first build your application and push it to the respective image registry offered by your cloud provider. Porter will automatically connect to the container registry it detects in your cloud account.
Step 2: Select a Docker Image
From the application creation flow, select Deploy from Docker Registry. This will list all container images that are available inside the registry. Select the image you want to deploy from the list.

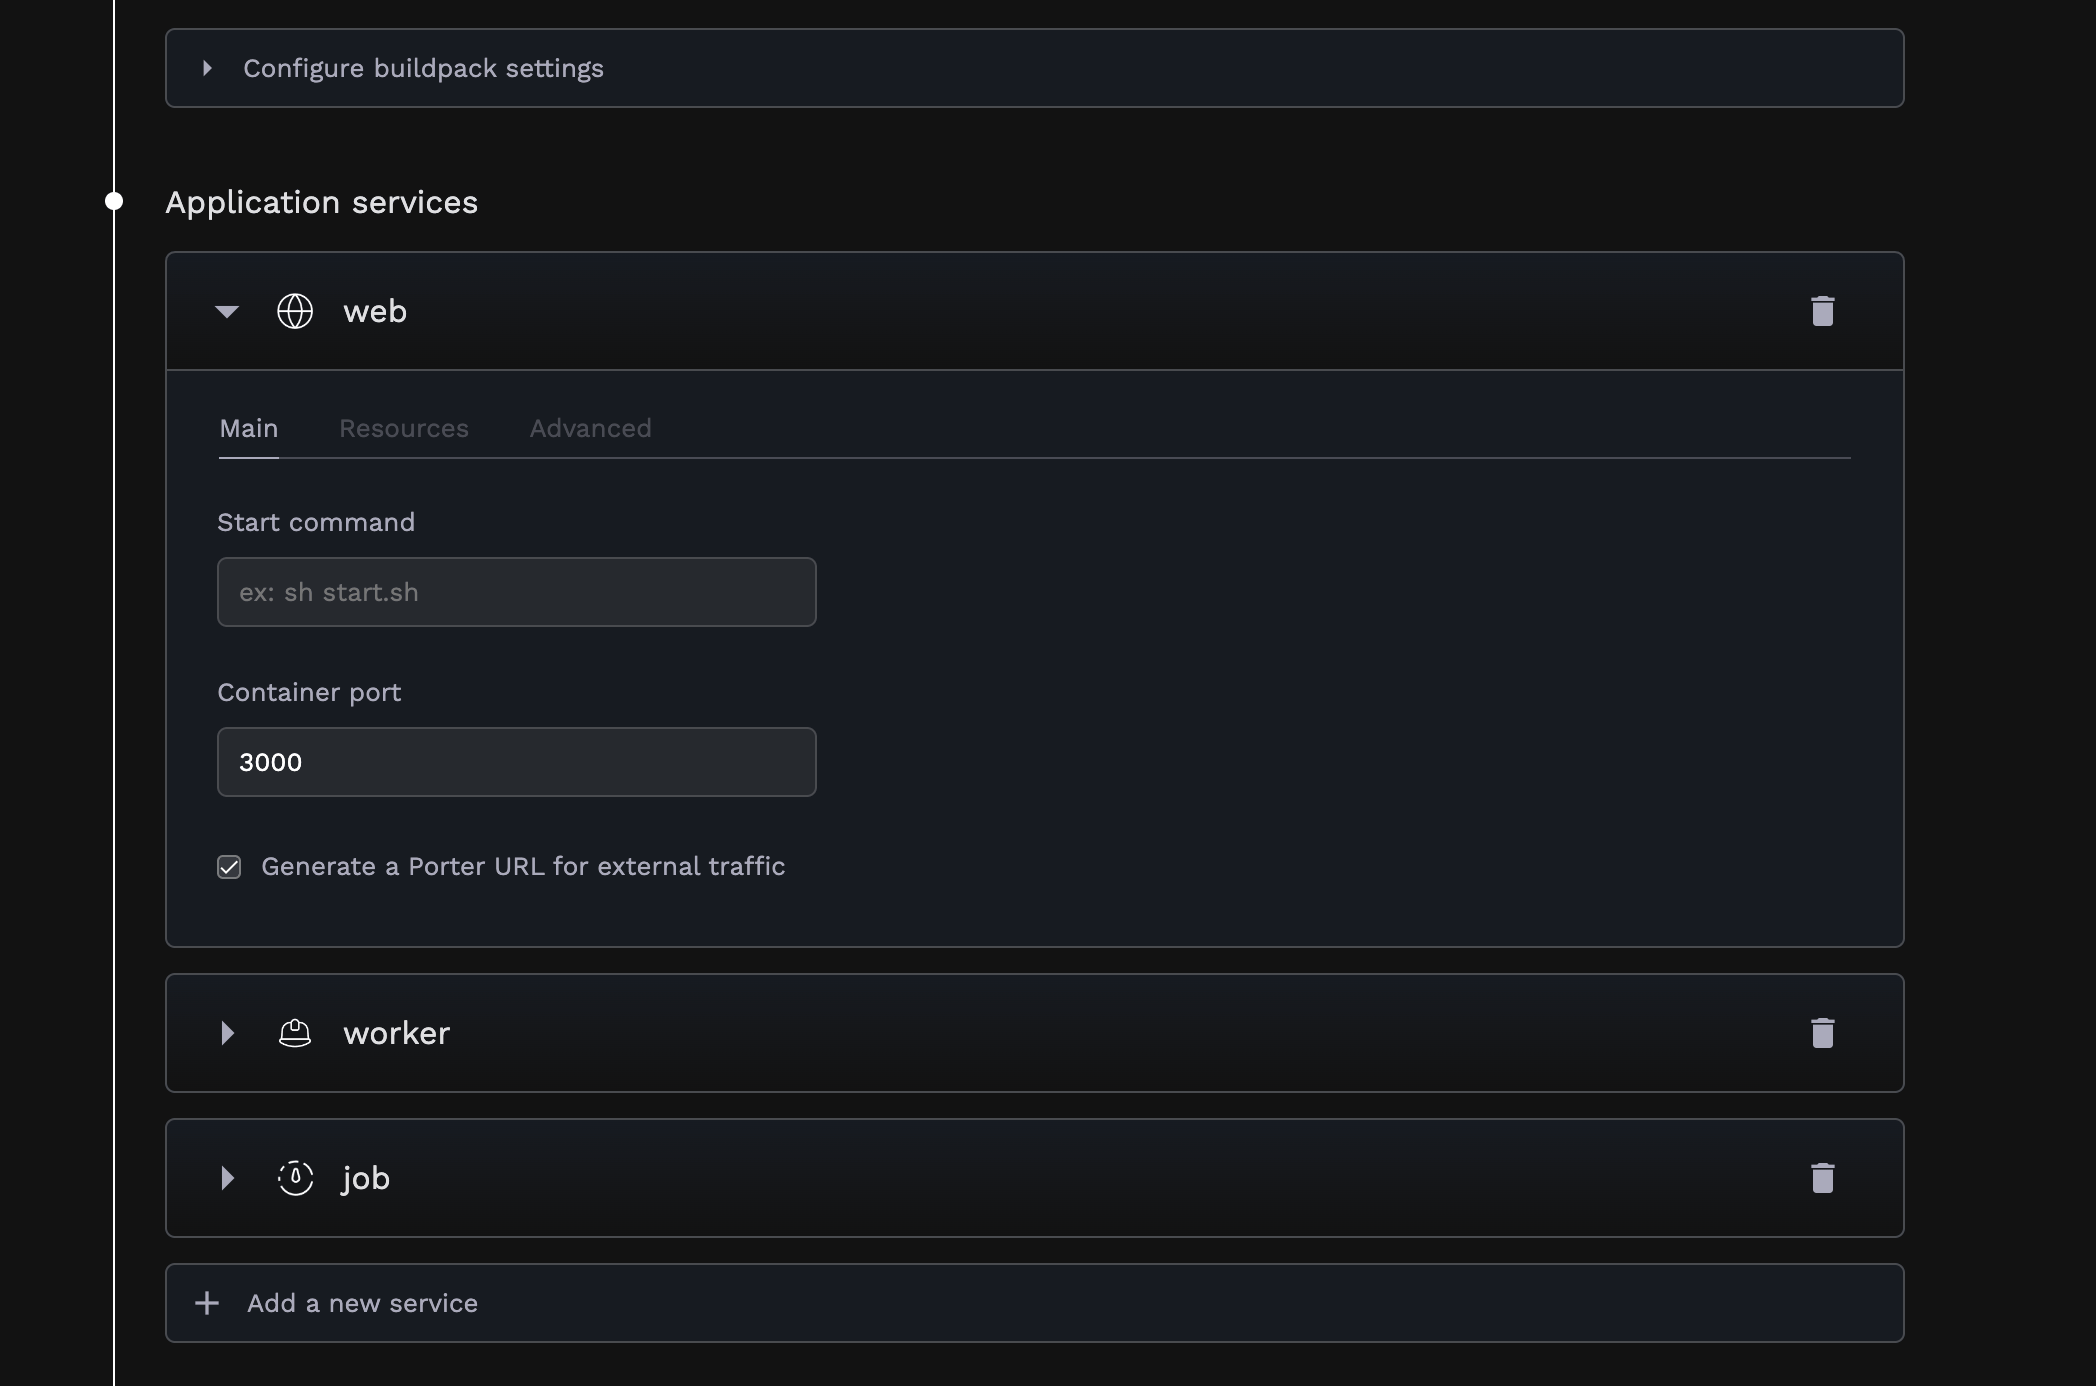
Step 3: Add Application Services
You can now add services to your application, which will be deployed together using the specified docker image. Porter supports three types of applications: Web, Worker and Job. See here for more information about the difference between service types.
If you had written a porter.yaml file as outlined in the Configuration as Code guide, you should see this list populated with the services you defined in your porter.yaml file. Any settings you specify for your services in your porter.yaml will be read-only in the Porter UI.
If you would like to make changes to your services, you will need to make them in your porter.yaml and push them to your repository. Note that writing this file is optional.
Step 4: Add Environment Variables
After adding services, you can add environment variables to your application. These environment variables will be available to all services in your application during runtime.
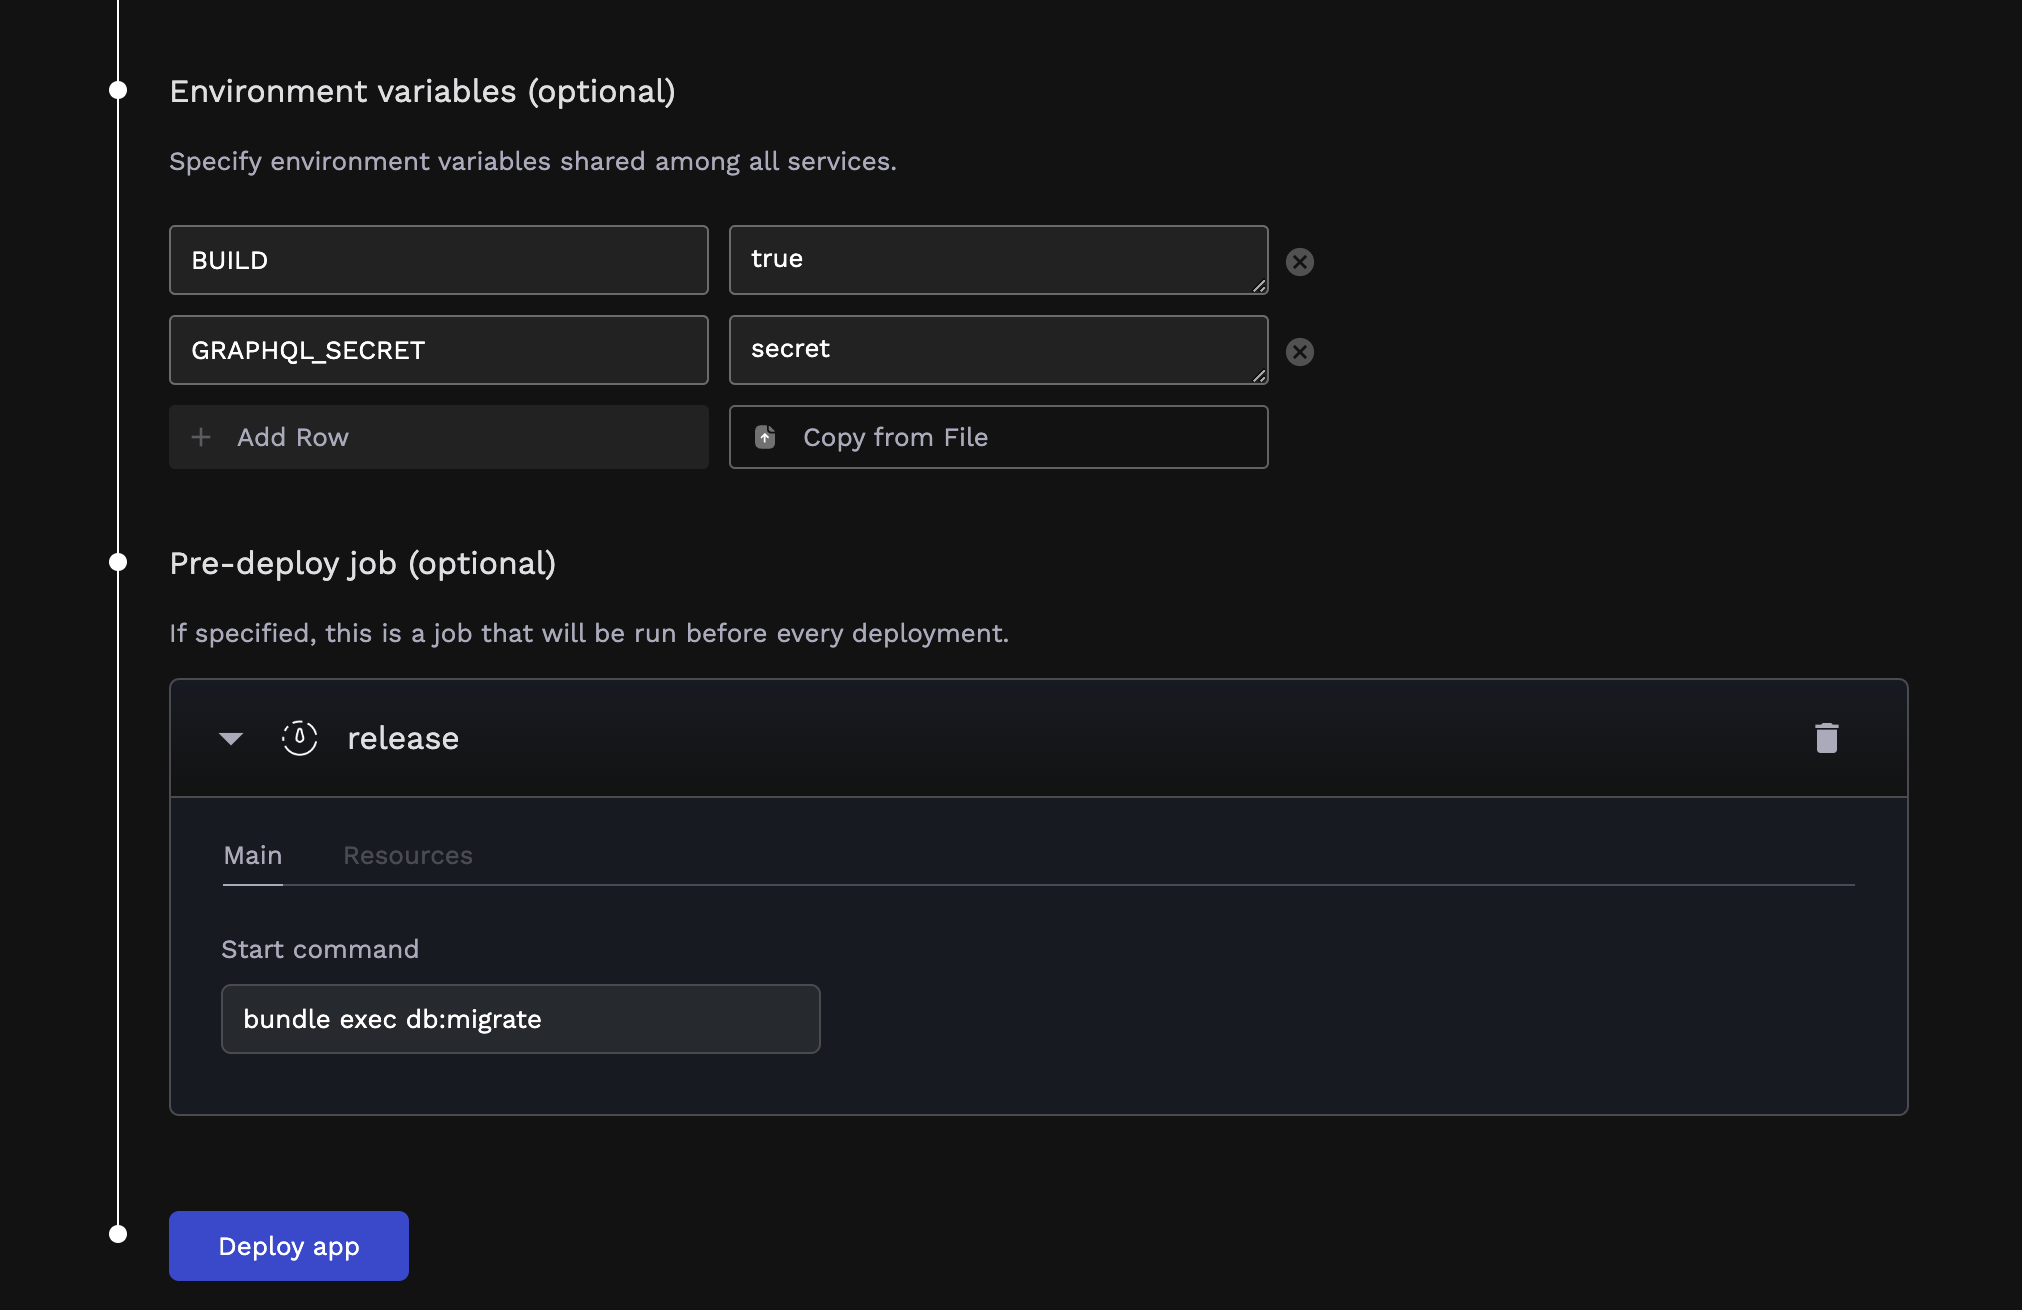
Step 5: Add a Pre-Deploy Job (Optional)
You can also add a pre-deploy job to your application. This job will run its start command before your application services are deployed, and can be used to run database migrations, seed your database, or perform any other tasks that need to be completed before your application services are deployed. See here for more details.
Updating your application
Once you’ve deployed an application from a Docker registry, you may update the image tag of your application either from the dashboard or the CLI.
To update your image tag from the dashboard, navigate to Image Settings of your application and click on Select Image Tag.
To update your image tag from the CLI, run the command:
porter app update-tag APP_NAME --tag TAG_NAME
To automate your deployments, you may embed this command into your existing CI/CD pipeline as the last step after the image has been built and pushed to a image registry.
